If, for example, you have coffees needing to be synced to the Sales code “200”:
1. From your Dashboard, go to WooCommerce > Xero.
2. Scroll down to Sales account and enter the Default sales code (i.e. 200)
Note: All products from Xero, will be synchronized with the Default sales code. For this reason, we recommend using the Sales code you use for your Coffees.
3. We can configure codes for other product categories. To do this, please find out the following:
- Category names (from the webshop)
- Sales Codes (they must get assigned to from Xero)
4. Once you have identified the above information, provide it to your account manager who is helping you set up your store.
Note: If you decide to add Xero at a later point in time, please reach out to support@getbeans.com with your request.
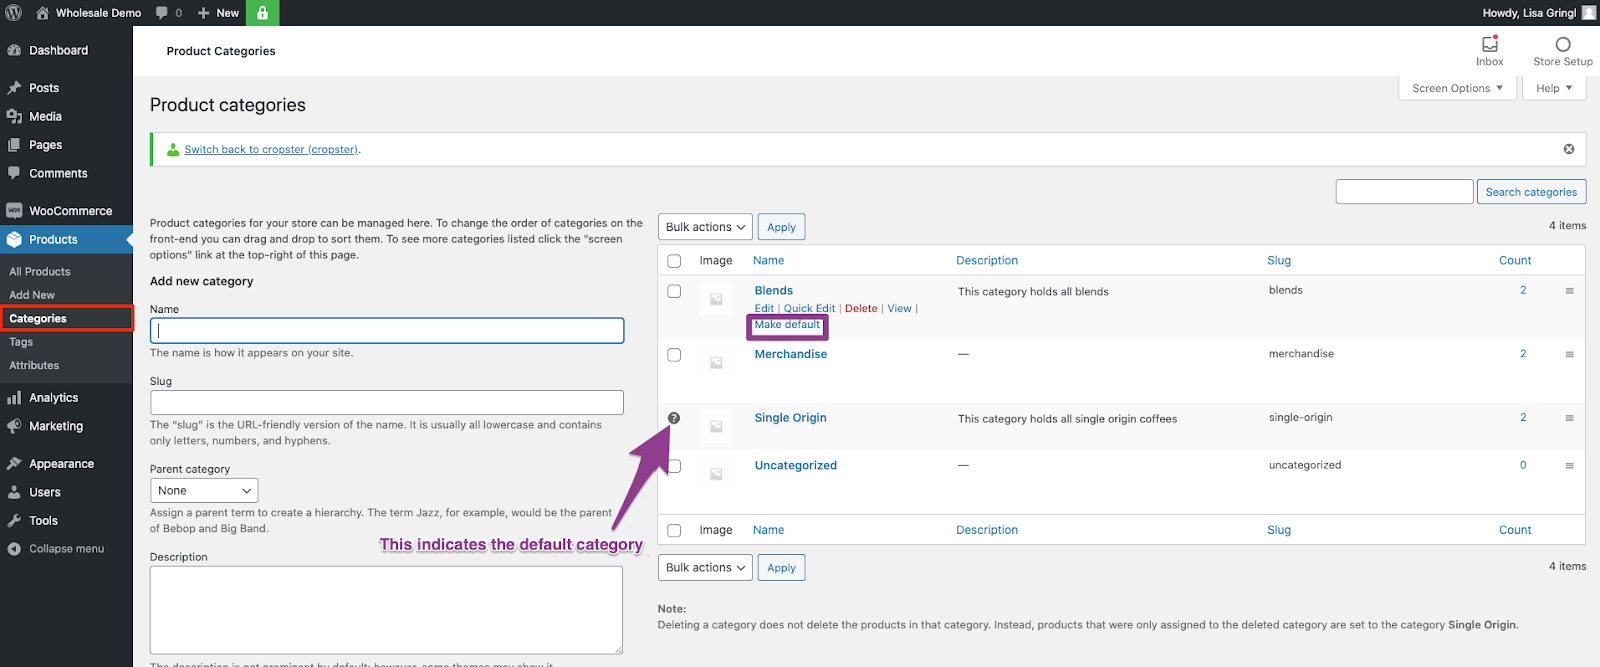
5. Go to Products > Categories, then verify the category that is linked to the Default sales code (i.e. 200) is set as “default“.

The (![]() ) icon means this is the default category and it cannot be deleted. It will be automatically assigned to products with no category (i.e. when you bulk upload new products and don’t specify a category).
) icon means this is the default category and it cannot be deleted. It will be automatically assigned to products with no category (i.e. when you bulk upload new products and don’t specify a category).
Note: Learn about categorizing products, visit the following manual: Add new product
